
How to create Woocommerce catalog mode for free with Elementor (without any other plugin)
Disclosure: This post may contain links to affiliate partners and products, that I have selected manually and would or have bought myself. I will get a commission if you decide to purchase anything after clicking on these links – at no cost to you.
It’s not unusual for shop owners to want to have an online presence, but they don’t need all the bells and whistles of a full eCommerce store. All they need is a catalog of their products plus an order form on every product page. Enter Woocommerce catalog mode. But wait, you need to install another plugin, it’s freemium, it doesn’t have all the features you would like to. Here’s a way to do it with Elementor (affiliate link – Elementor is THE best visual editor out there, so you can’t go wrong here) (and who doesn’t use that now!) and on top of that, it’s a Catalog mode with an Enquiry form. Bring it on! (BTW, this should work in the same way with Divi, just create a Divi product template).
The usual way of doing this was with Woocommerce + a third party plugin like YITH Woocommerce Catalog mode – which isn’t bad itself, but what if you don’t want to use a plugin? Or you prefer to customise your enquiry form? That is exactly what I’m going to show you here.
Until Elementor PRO brought us custom templates for specific post types, like a product. Boom – the world of WordPress and web design has changed.
What follows are a few simple steps how to use Elementor to create a neat and easy online catalog website, with an order / enquiry form
What you will need
- WordPress (.org)
- Woocommerce (or Easy Digital Downloads would work too, but some settings might differ and you’ll have to figure those out yourself)
- Elementor PRO
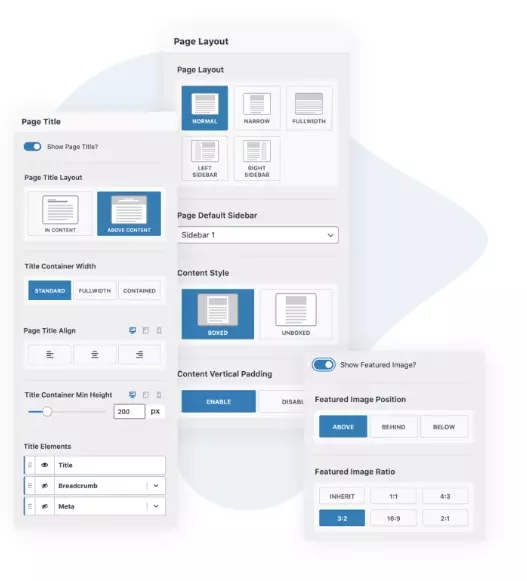
- A good, fast theme, KadenceWP (affiliate link – a very fast, versatile theme and a suite of add ons) + An alternative would be GeneratePress or its Premium version is good too.
STEP 1 – Create a custom SINGLE PRODUCT template using Elementor
- Elementor Templates > Theme builder > Add New and choose Single Product as the type
- in the template, create a two-column, full-width layout (actually, you can create whatever layout you want, but this is what customers are used to):
- place the Product Images widget on the left
- Product Title, Product Price (or not if not needed), Product breadcrumbs, Product short description on the right
- Product Content can be placed below the fold into a new Section and if you wish, also Product Data Tabs
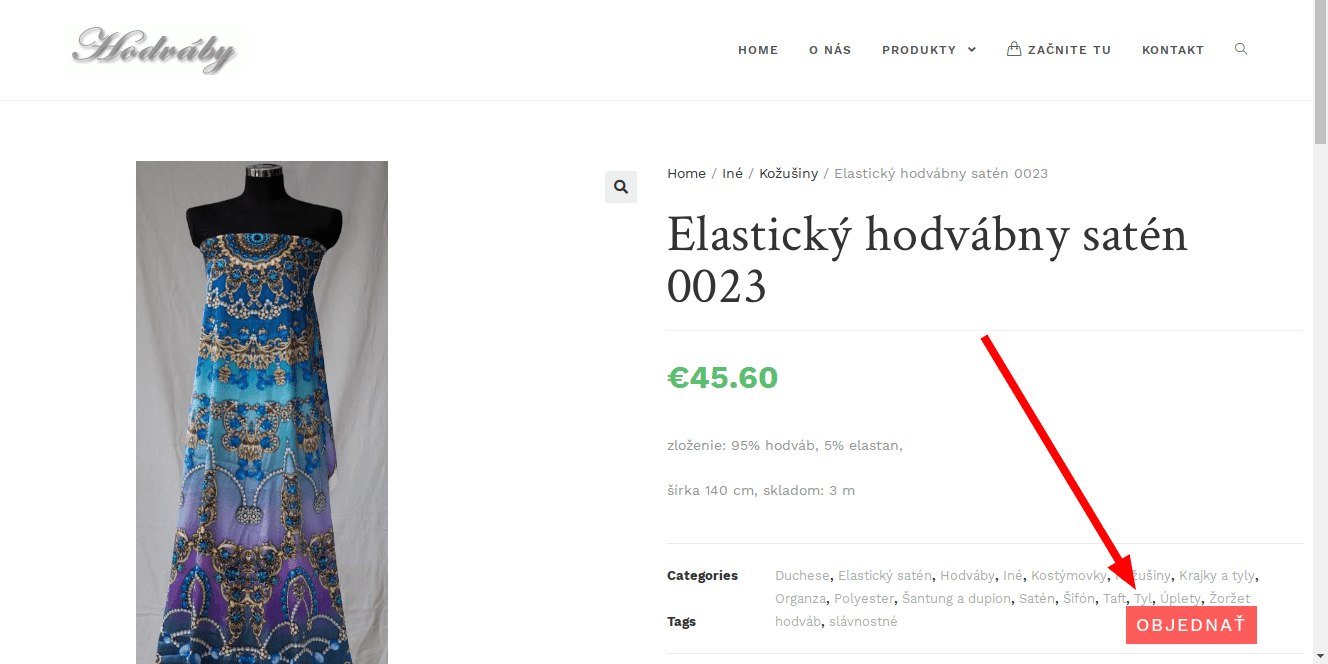
- Place a button somewhere where the Add to cart button would normally sit, that will link to an anchor of your choice (say #orderform). I have created a floating button, but that’s for another time :)

STEP 2 – create an order form at the bottom of this template, that copies the Product Title automatically into its email subject:

- I’ll leave the fields up to you, but what’s important is that you create a HIDDEN field, then feed it the PRODUCT TITLE. We’ll use this in the email subject + in the body, so that you’ll know what product is being ordered:
- add a HIDDEN field
- name it Product
- switch to it’s Advanced options tab and name it “product” so that the resulting field shortcode is [field id=”product”]
- still in the Advanced options, in the default value click on the database icon (Dynamic tags) and select “Product Title”.
- Copy the [field id=”product”] shortcode and go to the Email tab
- in the subject field, enter something like “New order of: [field id=”product”]
- as long as you have [all-fields] in the email body, you’re good (you can always customise it yourself by adding standard HTML, headers etc and then using the field shortcodes to place them where you want to
- go to Advanced settings of the entire section and give it CSS ID “orderform”, so that the button we created earlier will slide nicely to this form.
STEP 3 – hide all Add to Cart buttons throughout the website
- go to any product archive page and find the “add to cart” button class. Careful – we don’t want a general “.button” class, but something like “.add_to_cart_button” class
- find the css class for any cart icon / link in the menu
- go to Appearance>Customiser and Custom CSS section and enter this CSS: (of course replace all the classes with your ones)
.add_to_cart_button, .menu_cart_button{display:none !important;}For example in Woocommerce standard theme Storefront, the CSS for the add to cart button in archive pages is:
ul.products li.product .button, ul.products .wc-block-grid__product .button, .wc-block-grid__products li.product .button, .wc-block-grid__products .wc-block-grid__product .button…and for the header cart button:
.site-header-cartIf you’re using the OceanWP theme, it’s easy, no CSS needed:
- go to the customiser (Appearance > Customise)
- section Woocommerce>General and turn off “Display Cart When Product Added” and also the Wishlist if it’s on
- Woocommerce>Menu Cart and select “Disabled on all devices” in Visibility
- Woocommerce>Archives and turn off the Add to cart button at the bottom – Default Style for Products Style has to be selected
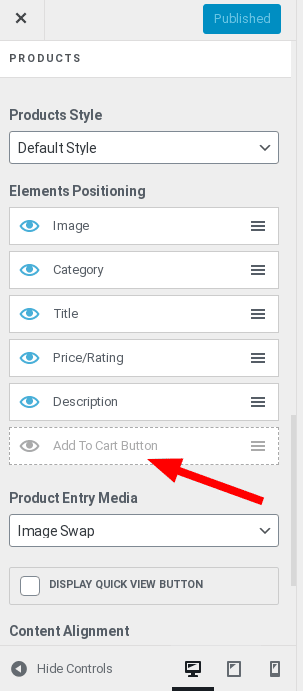
- you can turn the same off in Woocommerce>Single Product but as we are using a custom Elementor template for single products, there’s no need. It’s only needed if you are using the default product template.
- still in Woocommerce>Single Product turn off the Floating bar. As that would float an add to cart button at the top of the screen when you scroll down.
STEP 4 – delete the CART and CHECKOUT pages
As these are not needed, we wouldn’t want them indexed or accidentally found, so best delete them. Or make them Draft if you want to keep them for later.
….aaand you’re done!
Now you should have a very nifty Woocommerce catalog mode store, with most of the ecommerce features (product categories, tags, grid display, filters, upsells, similar product suggestions), but without any add to cart or buy buttons, no payments, just a simple form, that you can edit as you please.
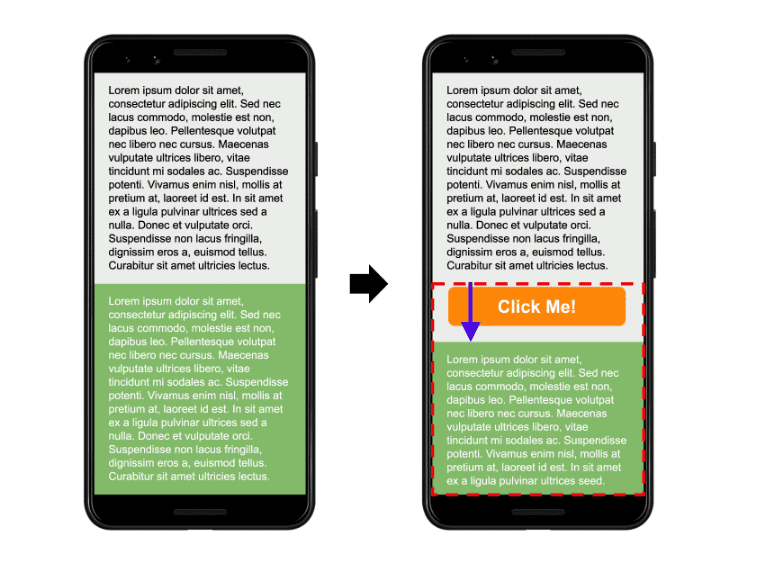
You can, for example, create a button in the top right corner of the order form section, make it sticky to bottom (using Elementor settings) and also use Transparency in the Motion Effects settings – to make it disappear when the visitor reaches the order form. This way the button will float at the bottom of the screen and when clicked, will take the user directly to the order form. Nice! See the result:

This can be expanded on using the powerful Elementor PRO features or more bits of code. If this was helpful or you have found another way to do it, or you have found other interesting uses – let me know in the comments!

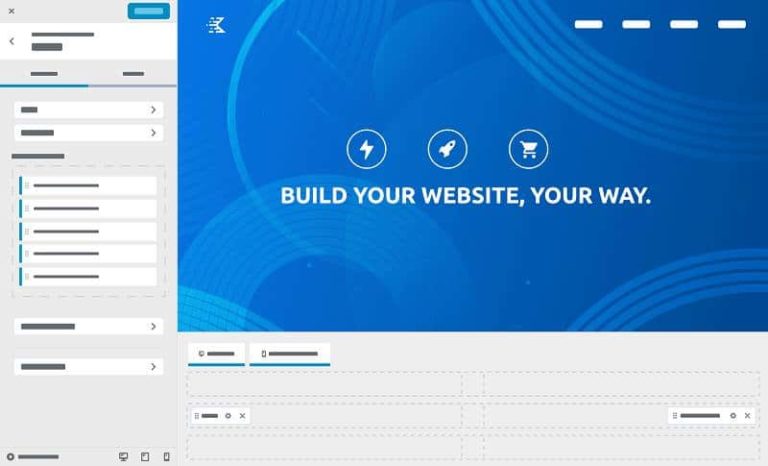
Best theme for building websites efficiently
Get 10% off
any Kadence product: Theme, Plugins, Cloud or full Bundle
- great customer service & support
- super header & footer builder
- performance optimised
- Gutenberg, Elementor, Beaver Builder, Woocommerce, LearnDash, The Events Calendar & more integrations
- Supercharge your website development with Hooked Elements (Premium)
Use this code at checkout:
nimble10


Thank you so much!!!! this was an incredibly helpful post :)
Hi Stella, glad it helped!