WordPress Ad Management: How to add ad banners to your website systematically
Disclosure: This post may contain links to affiliate partners and products, that I have selected manually and would or have bought myself. I will get a commission if you decide to purchase anything after clicking on these links – at no cost to you.
Looking for a way to show ad banners on your website (blog/authority/affiliate site) by device and manage them from a central place? This post will give you two ways (free & paid) on how to do it. Show adverts across your website, hook them into/before/after the content, replace the sidebar, show different ads on mobile and more.
This post is for all of you who want to make some money from your website by showing adverts. Not Google Adsense, as that happens automatically – but your hand-picked adverts, usually from affiliates you work with.
In the old days, I would have to edit my theme’s PHP templates and place the banner HTML code there. Not for everyone + tricky – it’s very easy to break your website. If I only wanted to show ads in the sidebar, I used the HTML or Image widget, much safer, but not very flexible (for example on mobile, the sidebar is pushed into the no man’s land – way below the content).
Then I have discovered a great free option:
Ad Inserter – Ad Manager plugin (FREE and PRO)
This plugin is a powerhouse even in the FREE Ad Inserter version. It gives you 16 separate slots, each can house any number of ads. You paste in the HTML or javascript code of the ad, any shortcode and you can add your own text and code too:
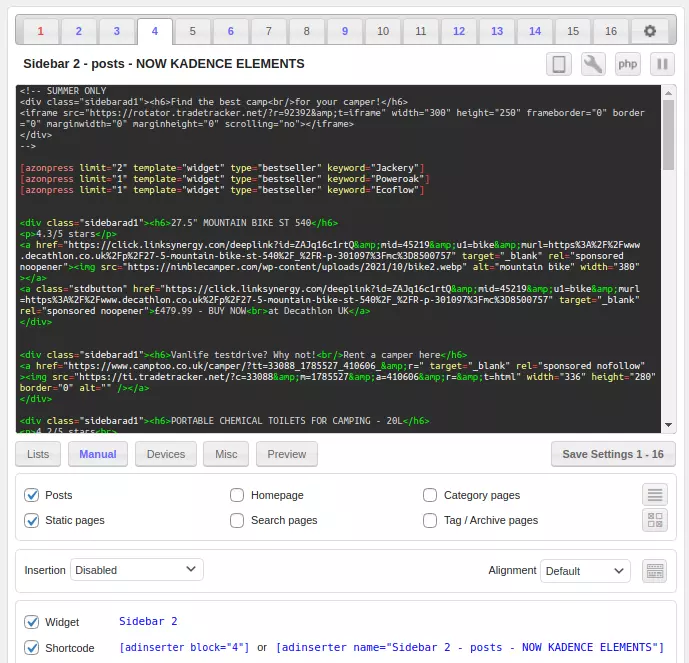
You can then place each one of these slots into various places of your website using hooks, this is what I use most often (but not exhaustive):
- Automatically using predefined options like:
- Automatically inserts ads on posts and pages
- Insert before or after post
- Insert before or after content
- Insert before or after paragraph (choose which paragraph number – i.e. show after the 4th paragraph of the post body)
- Insert before or after random paragraph
- Insert before or after multiple paragraphs
- Insert before or after image
- Insert before or after comments
- Insert before or after excerpt
- Insert near any element on the page (using CSS selectors)
- Insert above the header (after tag) Insert in the footer (before tag)
- Insert at relative positions in posts
- Insert between posts on blog pages (in-feed AdSense)
- Insert between excerpts on blog pages
- Insert between comments
- manually using a shortcode (into the post body, page body, sidebar widget)
- manually using PHP code (into a template)
You can then use rules to augment these display settings, for example:
- show specific ad slots only on a selected device (mobile, talbe, PC)
- logged in only / logged out only users
- insert after X days from post publish date
- only if the post has between X and Y words
- + many more advanced filters, see Documentation
Of course, you don’t have to use this plugin for adverts only – you can insert any code anywhere on the website, so it’s also useful as an extension to any theme if you don’t know how to edit PHP code.
Find out more about AdInserters Ad Rotation.
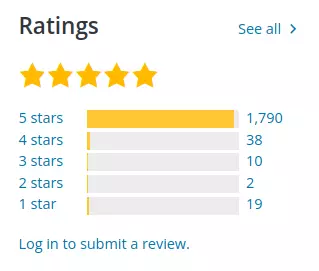
No wonder it’s so well rated:

If you don’t want another plugin + want a great fast & reliable theme in one:
Kadence Theme PRO – Hooked Elements feature for ads placement
I love the Kadence Theme, you can read why I think it’s the best out there in my review.
Let’s focus on the one feature that makes it very powerful in terms of automatic ad placement – Kadence Hooked Elements. It’s about the same functionality as Ad Inserter above, in terms of where you can place things.
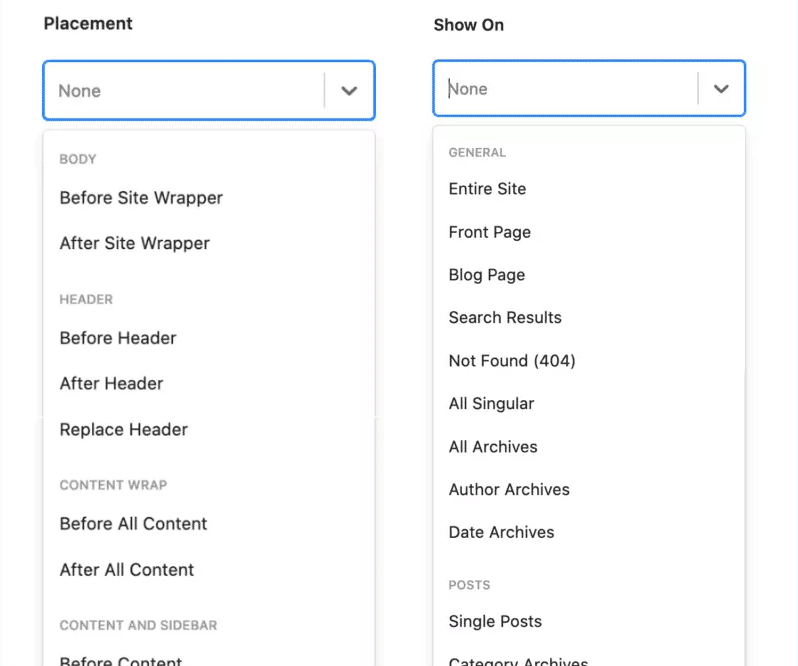
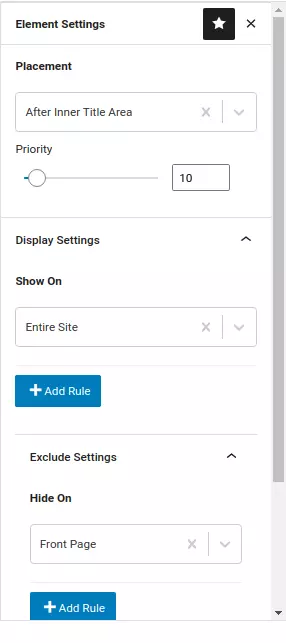
The Placement setting decides what section of the website the ads are placed.
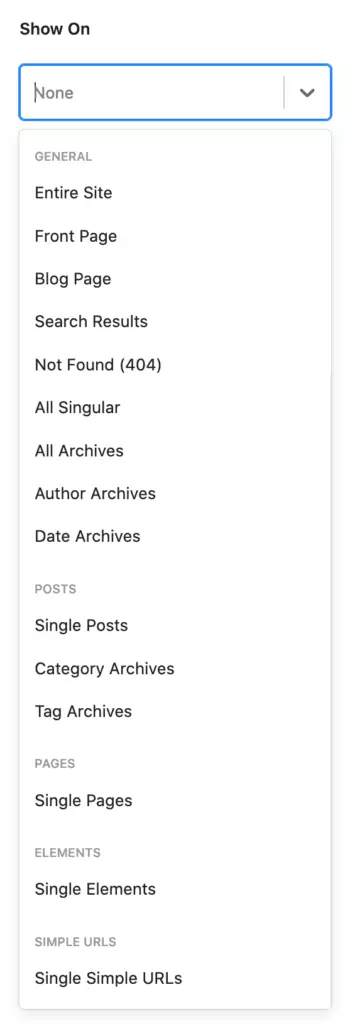
The Display setting decides what type of content, post type, category etc the ads will show on.

There are so many combinations that make it very easy to place anything anywhere + exclude it on specific pages if you need that too, for example:
Place an affiliate disclosure text after Inner Title Area and show it on Entire site but exclude (don’t show it on) the Front page.
Here’s a manual on how to get started with Kadence Hooked Elements and place your first ad banners.
On top of that, you can also limit the display by user role, logged in/out status, device type and you can expire the whole thing after a set period of time.
The huge benefit of Kadence Hooked Elements vs Ad Inserter: visual editing (all Gutenberg features)
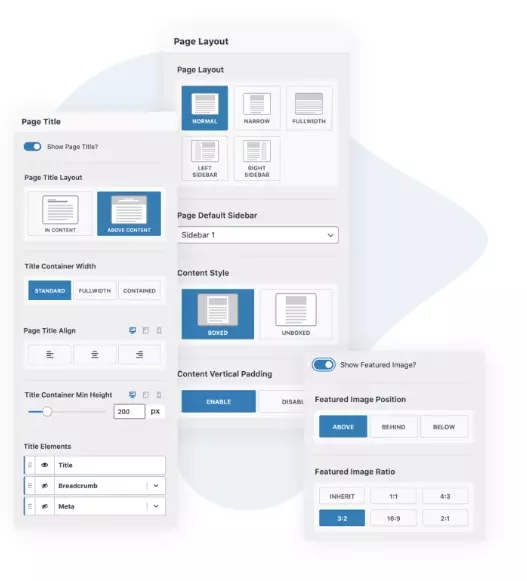
Aside from all the benefits of Kadence being one of the best themes out there in terms of speed, code quality, support and features, being able to visually build your ads directly in the editor is one HUGE benefit vs Ad Inserter. Yep – you don’t have to edit code. You can if you want/need to using the HTML or CODE Gutenberg widgets, but you can just as well build your own call to action, buttons, multiple-column layouts etc. using all Gutenberg (or even more powerful Kadence Blocks) to build pretty much anything visually and easily & then insert it pretty much anywhere.
You can even design a beautiful banner like this and choose to insert it after every post (which I did, but I’ve excluded this post to avoid having the same banner displayed twice).

Best theme for building websites efficiently
Get 10% off
any Kadence product: Theme, Plugins, Cloud or full Bundle
- great customer service & support
- super header & footer builder
- performance optimised
- Gutenberg, Elementor, Beaver Builder, Woocommerce, LearnDash, The Events Calendar & more integrations
- Supercharge your website development with Hooked Elements (Premium)
Use this code at checkout:
nimble10